- Web templates
- E-commerce Templates
- CMS & Blog Templates
- Facebook Templates
- Website Builders
OpenCart 2.x. How to manage Material Design icons
July 1, 2016
The following tutorial shows how to manage Material Design icons in OpenCart 2.x templates
In order to replace demo icons with the needed ones you should perform the following steps:
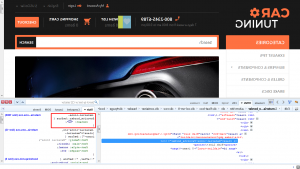
Inspect the icon using Firebug add-on for Firefox (or any other developers tool). Here you can find a detailed instruction on installing Firebug and working with it: Firebug. Mozilla Firefox plugin. In order to change the icon, locate the CSS rule where the icon is added:

In order to replace a demo icon with a desired one, you need to change the content value in this CSS rule.
Open your site files via FTP or File Manager in your hosting admin panel and navigate to the /catalog/view/theme/themeXXX/stylesheet directory. Locate the material-icons.css file. Here you can find the codes of all the available material icons.
Select the needed icon and copy it’s code:

Get back to your site and paste this code in the CSS rule mentioned above, add !important as well. If the code is added correctly, you will see the icon changed:

Right click over the rule and select a Copy rule declaration option:

After doing this navigate to catalog/view/theme/themeXXX/stylesheet/ directory again and open stylesheet.css file. Paste the rule to the bottom of the file and save the changes:

Open your website and refresh the page.In some cases you will also need to clear your browser cache to see the changes.
You have successfully replaced Material Design icon in your OpenCart 2.x. template.
Feel free to check the detailed video tutorial below:
OpenCart 2.x. How to manage Material Design icons


